Windows 10 support
step 1: install my certificate
make sure you download your certificate by logging into your anex account
- press
Windows Key + R> to bring up the Run dialog, and entermmc.exeto launch the Windows Management Console - from the File menu, navigate to Add or Remove Snap-in, select
Certificatesfrom the list of available snap-ins, and click Add - we want the VPN to work with any user, so select
Computer Accountand click Next - we're configuring things on the local computer, so select
Local Computer, then click Finish
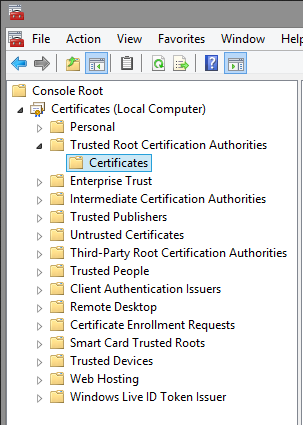
under the Console Root node, expand the Certificates (Local Computer) entry,
then expand Trusted Root Certification Authorities, and then select the Certificates entry:
- from the
Actionmenu (at the top) - select
All Tasksand clickImportto display theCertificate Import Wizard - Click Next to move past the introduction
- on the File to Import screen, press the Browse button
- ensure that you change the file type from
X.509 Certificate (.cer;.crt)" to "All Files (.) - and select the
ca-cert.pemfile that you've saved - then click Next
- ensure that the Certificate Store is set to
Trusted Root Certification Authorities - and click Next
- click Finish to import the certificate
step 2: create your vpn connection
step 2.1
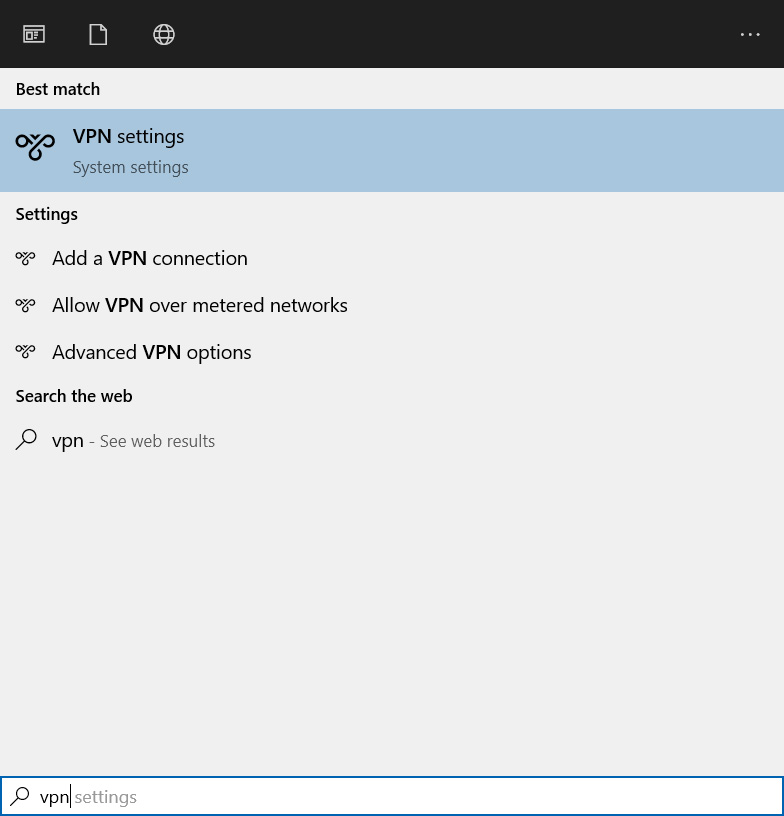
- click on the Windows logo (located at the bottom left of your screen), then type:
vpn - you should see VPN settings
- click on it
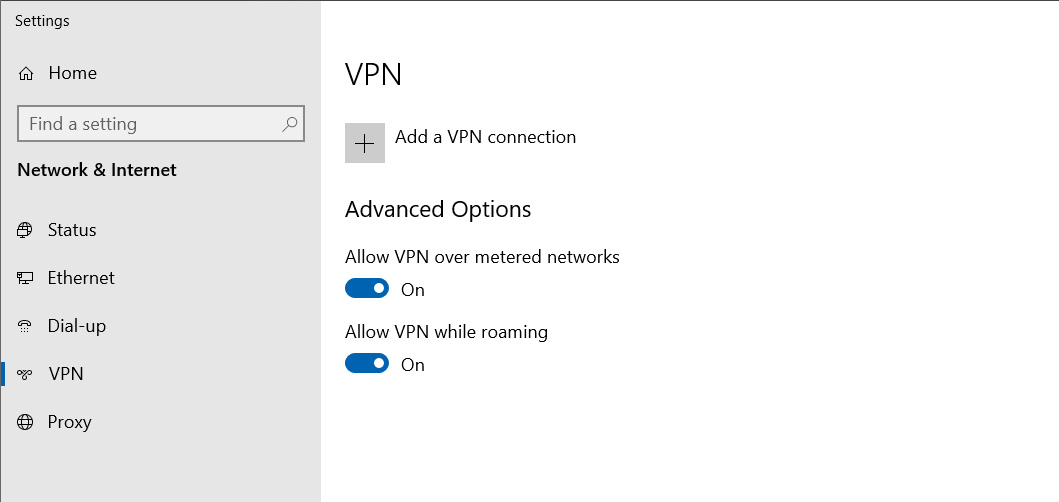
step 2.2
now, click on Add a VPN connection
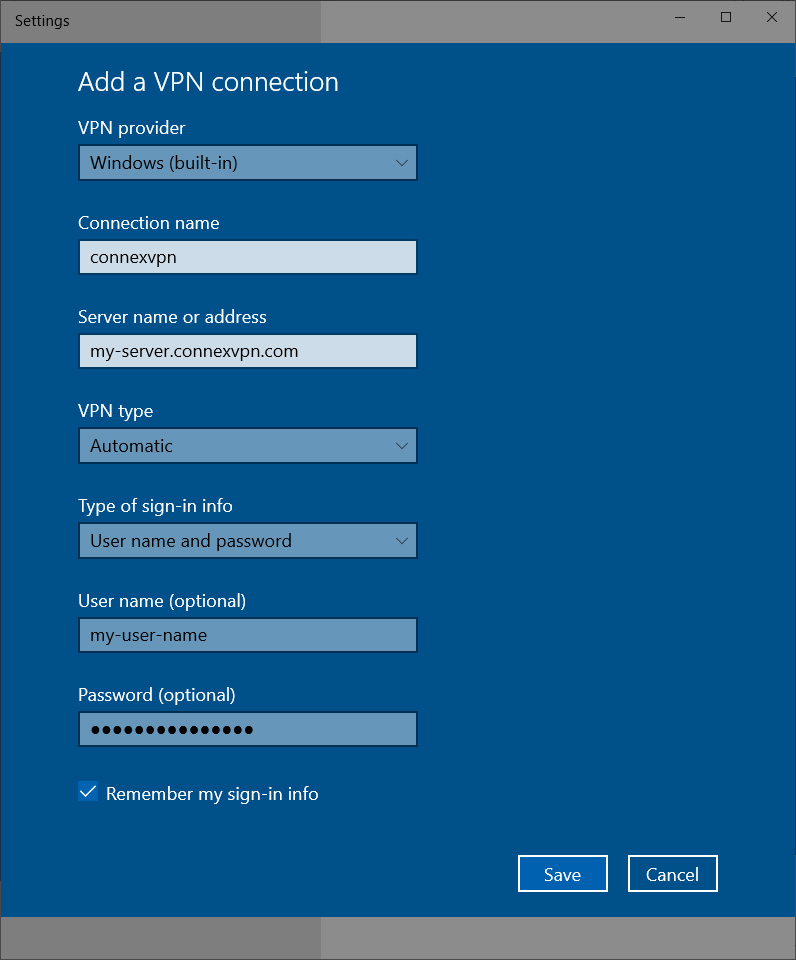
step 2.3
add the connection name, eg: my-vpn.connexvpn.com or the ip address
step 2.4
once the connection is added, click on Connect
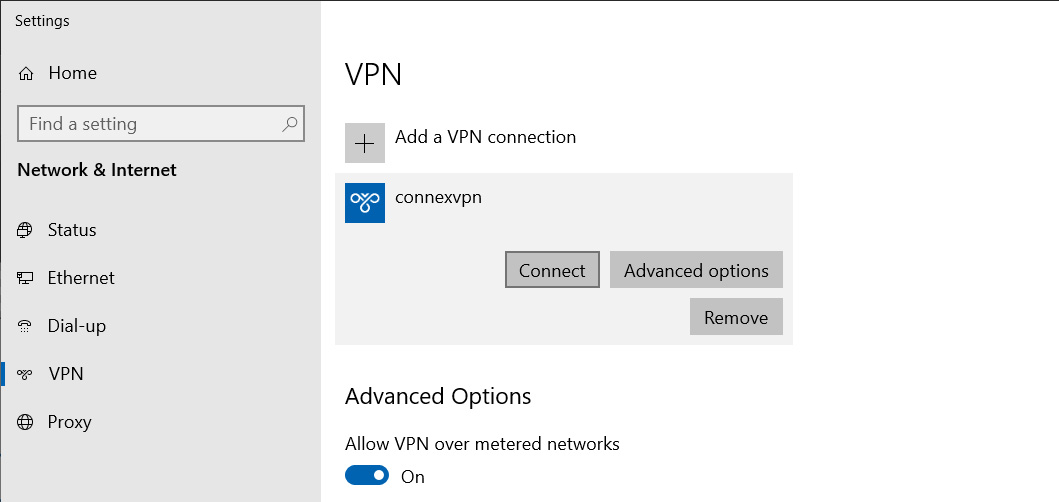
step 2.5
Windows will connect to your anex VPN and validate the information.
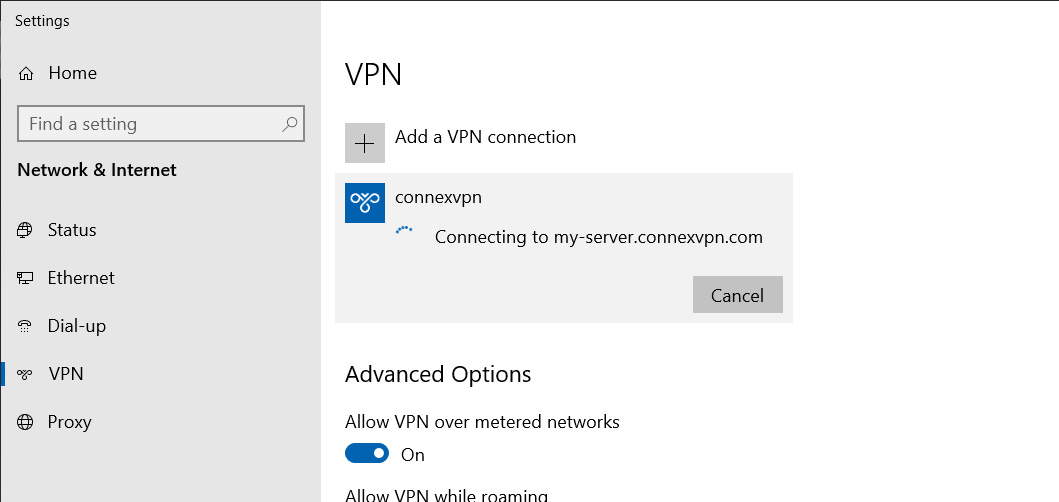
step 2.6
if your credentials are valid, you will be connected to your connexvpn anex VPN
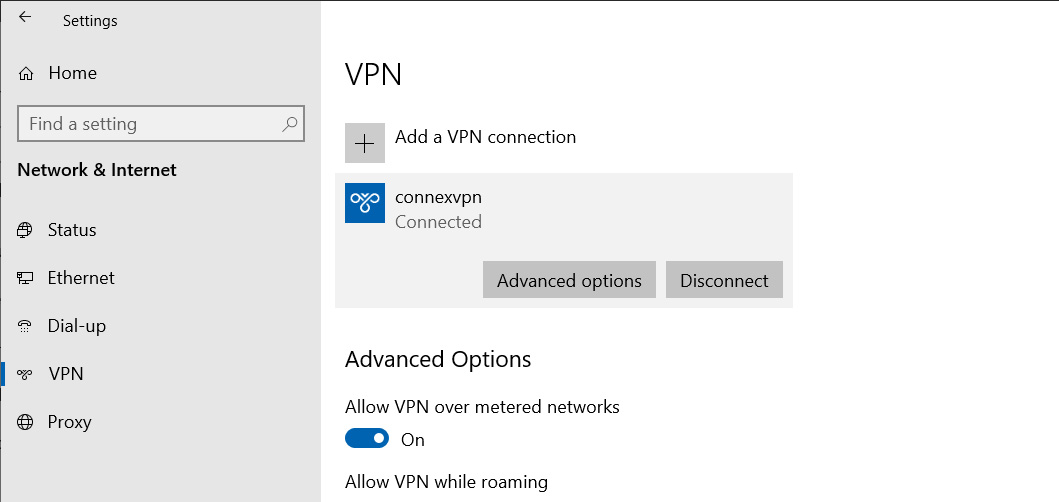
setup complete